
Detailed guide for filling joints in porcelain flooring
Porcelain flooring is one of the most popular and durable options for covering both indoor and outdoor spaces, thanks to its longevity, aesthetics, and easy maintenance. However, to preserve its beauty and functionality, it is essential to pay attention to a key detail: the joints.
Properly filling the joints in porcelain flooring not only improves the final appearance but also prevents leaks, protects against dirt buildup, and avoids future damage. In this detailed guide, we explain step by step how to professionally fill the joints of your porcelain floor, the materials you will need, and tips to achieve a clean, long-lasting finish.
Keep reading and discover how to keep your porcelain floor impeccable for much longer.
Why is it important to fill the joints in porcelain floors?
Filling the joints in porcelain floors is a fundamental part of the installation process and should not be seen as merely an aesthetic step. Beyond the visual finish, properly sealing the joints ensures durability, hygiene, and long-term resistance. Here’s why it’s key:
1.- Protection against moisture and dirt. Although porcelain is a very low-porosity and highly resistant material, the joints between tiles can become weak points if not properly filled. Correct sealing prevents water, grease, dust, and other residues from seeping through, which is especially important in damp areas.
2.- Greater floor durability. The grout or joint filler acts as a cushion between tiles, absorbing minor expansions and floor movements. This prevents the pieces from colliding or cracking over time. Properly filling the joints helps maintain the long-term stability of porcelain flooring.
3.- Improved hygiene. Clean, well-sealed joints prevent the buildup of bacteria, mold, or organic residues that could lodge in cracks. This is essential in high-traffic floors or spaces requiring frequent cleaning, such as restaurants, hospitals, or homes with pets.
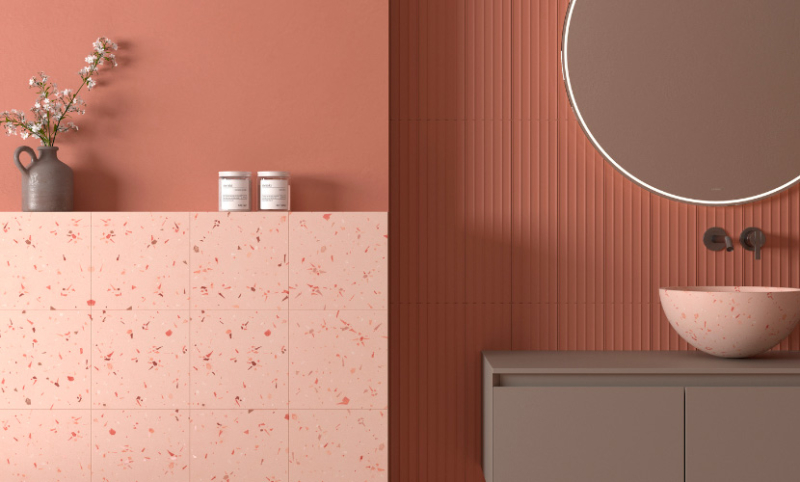
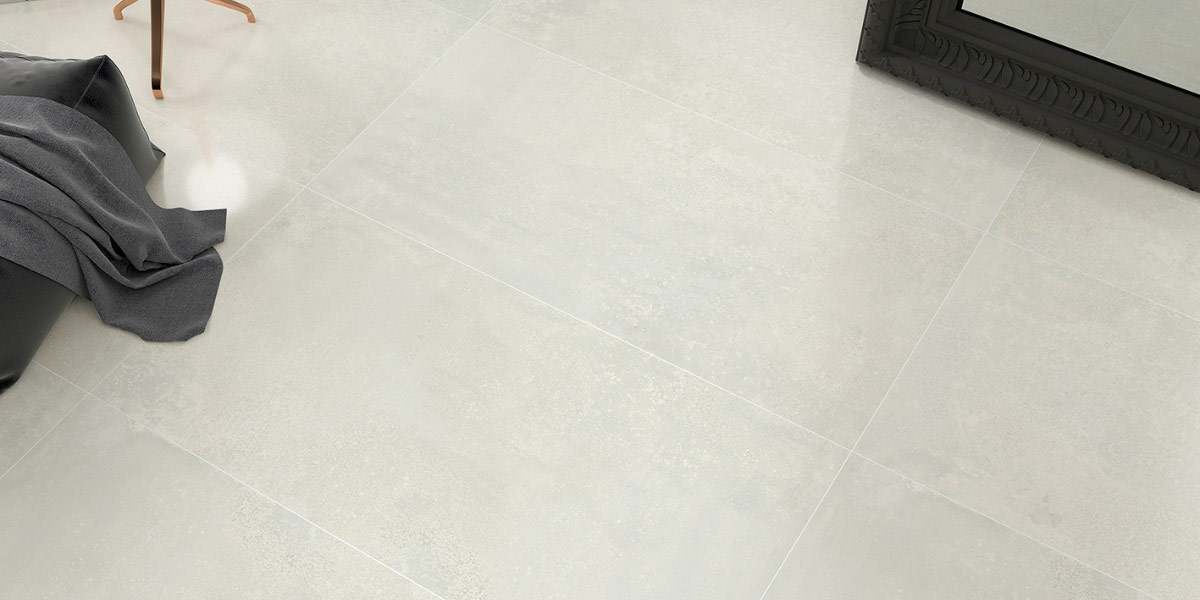
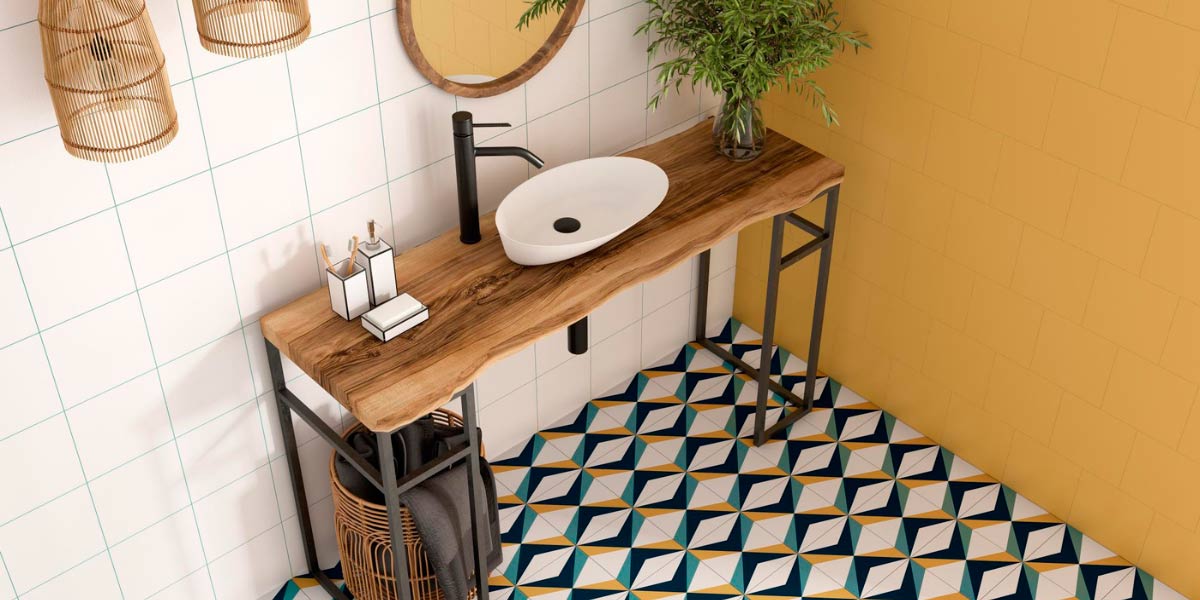
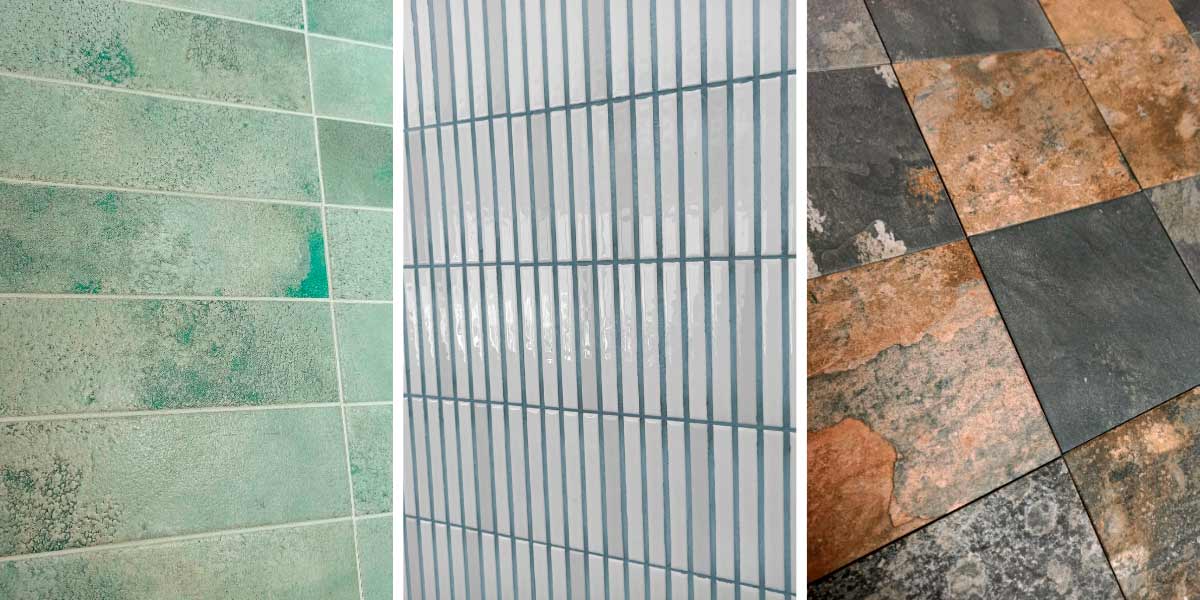
4.- Aesthetic and uniform finish. Filling the joints also has visual value. It unifies the floor’s appearance and highlights (or conceals) the boundaries between tiles depending on the chosen color. A well-applied joint enhances the porcelain design and provides a more professional, refined look.
5.- Prevention of structural problems. Neglecting this step or doing it incorrectly can lead to lifted tiles, internal leaks, or adhesive deterioration. Thus, filling the joints in porcelain floors is not just about appearance—it’s a guarantee of the flooring system’s proper performance.
Benefits of proper joint filling
A well-executed joint filling in a porcelain floor not only completes the installation but also makes the difference between a long-lasting job and one with short-term problems. This stage brings numerous functional and aesthetic benefits:
1.- Easy maintenance and cleaning. When joints are properly filled and sealed, dirt does not easily become embedded or accumulate. This simplifies daily cleaning and improves the overall hygiene of the space, which is especially useful in kitchens, bathrooms, or high-traffic areas.
2.- Uniform finish. Choosing the right color and type of grout helps enhance the look of porcelain flooring, whether to highlight the tiles or to achieve a continuous, subtle surface. Additionally, a well-applied and leveled joint gives a sense of higher quality and professionalism in the installation.
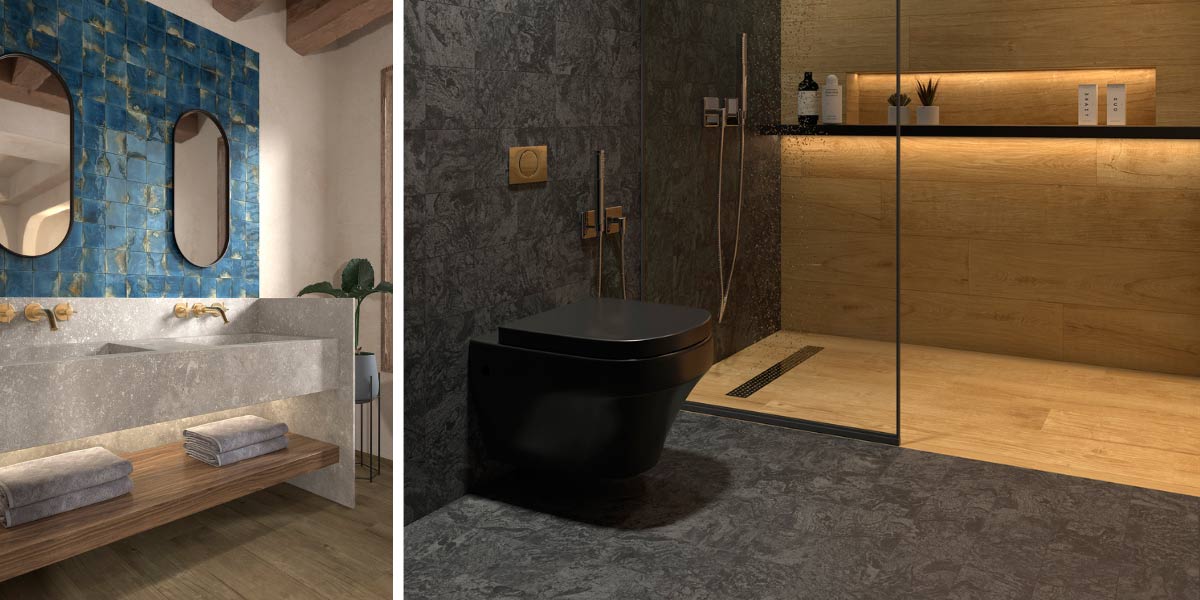
3.- Adaptation to all types of environments. Thanks to modern materials, a good joint fill can adapt to interiors, exteriors, wet areas, or underfloor heating. This increases the versatility of porcelain floors and ensures optimal performance in any context.
In short, proper joint filling is more than just a final detail—it is an investment in durability, cleanliness, comfort, and aesthetics.
The aesthetic impact of joint filling in porcelain flooring
Joint filling in a porcelain floor does not only serve a technical purpose; it also has a direct impact on both the aesthetics of the space and its functionality. Choosing the right color, type of material, and applying it correctly can completely transform the perception of the environment and ensure the flooring performs optimally over time.
When it comes to aesthetic impact, the joints—though visually subtle—significantly influence the final look of the floor:
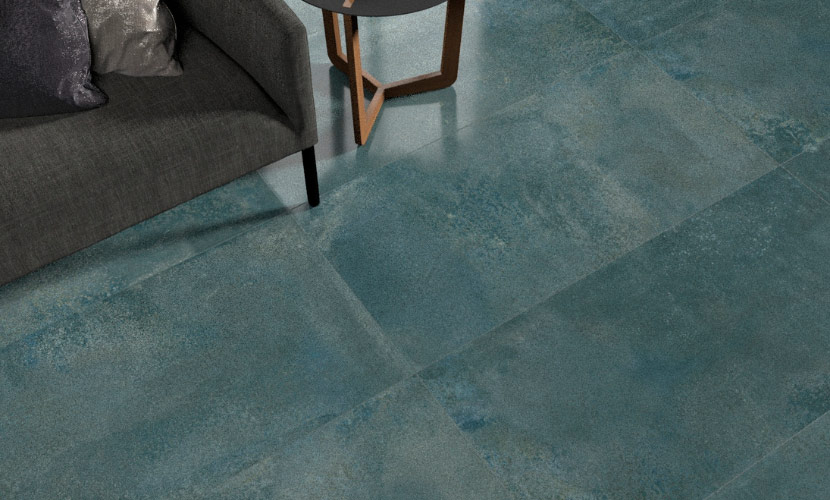
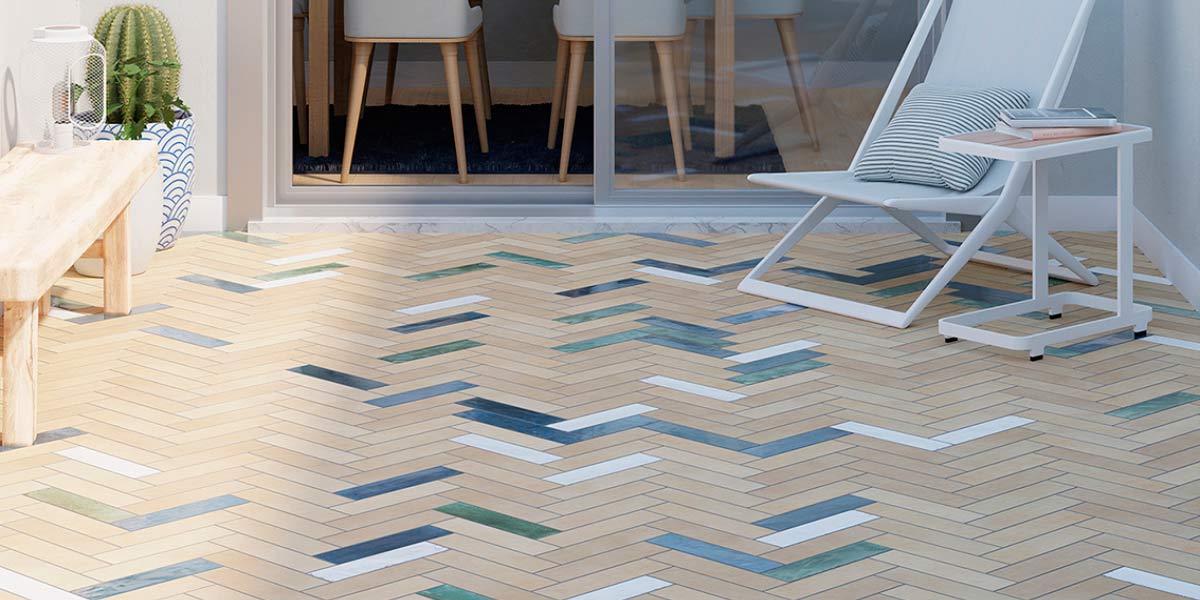
- Unify or contrast. By choosing a color similar to that of the porcelain tiles, you achieve a more uniform and minimalist finish. Conversely, opting for a contrasting joint color can highlight the format or laying pattern of the tiles (such as herringbone or checkerboard).
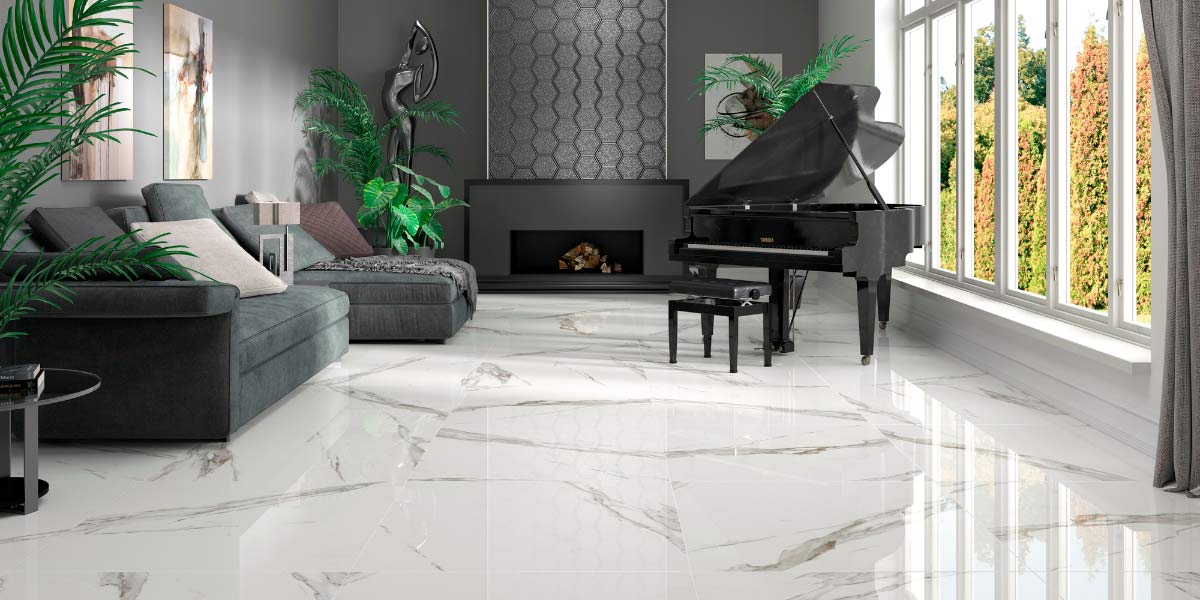
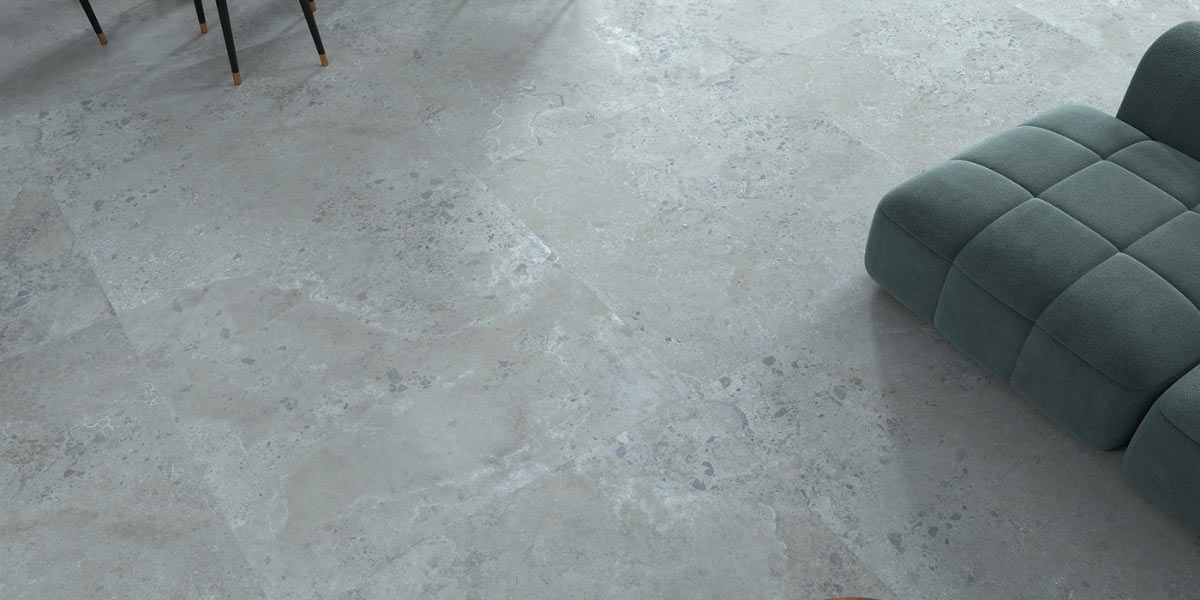
- Enhance the design. In floors with stone, wood, or cement effects, the shade and width of the joint can reinforce the natural or industrial look of the design, helping it integrate better with the room’s style.
- Convey cleanliness and care. Clean, straight, well-applied joints create a professional, well-maintained impression, which elevates the perceived quality of the floor.
Preparations before filling the joints of porcelain flooring
Before filling the joints of a porcelain floor, it is essential to properly prepare the surface to ensure a long-lasting and even application. Make sure the tiles are completely clean, dry, and free of dust or adhesive residue. It is also important that the tile adhesive has fully cured (at least 24-48 hours, depending on the product). Finally, gather all necessary tools and protect edges if you want to avoid stains during grouting. Good preparation is key to a professional finish.
Is it necessary to prepare the joints before filling them?
Yes, preparing the joints before filling them is absolutely necessary. This step ensures better adhesion of the grout material and a durable finish. The joints must be clean, dry, and free of dust, adhesive residues, or foreign bodies. It is also important to check that they have sufficient depth (at least ⅔ of the tile thickness) to ensure proper holding of the material. Proper preparation prevents issues such as detachment, cracks, or color inconsistencies in the final seal.
Tools and materials needed to fill porcelain floor joints
To correctly fill the joints of a porcelain floor, it is important to have the right tools and materials. This not only makes the work easier but also guarantees a uniform, clean, and long-lasting finish. Here’s what you’ll need:
- Rubber float: essential for applying the grout evenly without damaging the porcelain surface.
- Sponge or cellulose sponge: used damp to clean excess grout from the tile surface after filling.
- Bucket with clean water: to wet and rinse the sponge during cleaning.
- Joint scraper (if necessary): useful for cleaning dried adhesive residues or preparing old joints.
- Protective gloves: to work safely and avoid direct contact with the material.
- Small spatula (optional): for detailed work or touch-ups in hard-to-reach areas.
- Grout mortar: choose a product suitable for porcelain floors. It can be cement-based or epoxy, depending on the use (interior/exterior, wet areas, etc.).
- Water-repellent sealer or joint protector (optional): applied after drying to protect the joints from stains and moisture.
- Soft cloths or rags: for cleaning and wiping off dried residues.
Having everything ready before starting not only speeds up the work but also significantly improves the final result. Next, we will see the step-by-step on how to properly apply the grout.
Step by step to correctly fill the joints in porcelain flooring
To properly fill the joints in a porcelain floor, follow these key steps:
1- Prepare the surface: make sure the tiles are clean, dry, and the joints are free of dust and debris.
2- Mix the grout mortar: follow the manufacturer’s instructions to achieve a homogeneous, lump-free paste.
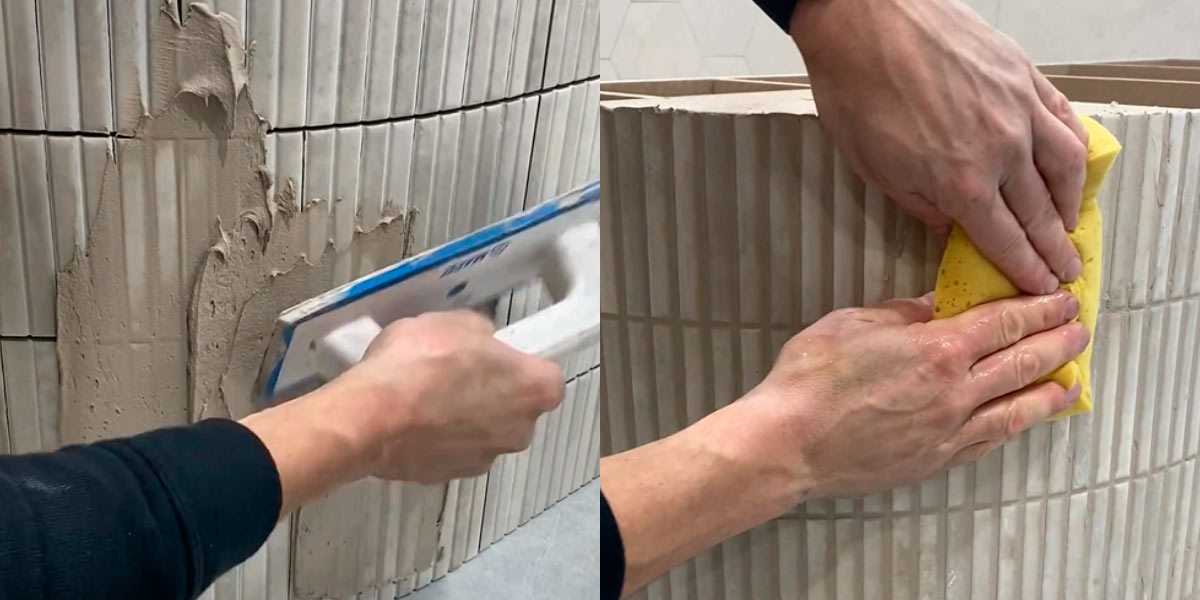
3- Apply the grout: using a rubber float, spread the mortar, pressing it firmly into the joints to fill them completely.
4- Remove the excess: once the joints are filled, run the float diagonally to remove any excess material from the tile surface.
5- Clean with a damp sponge: after a few minutes, use a slightly damp sponge to gently clean the tiles and shape the joints, taking care not to erode the material.
6- Let it dry: wait the time recommended by the manufacturer to allow the grout to set properly.
7- Final finish: if needed, apply a sealer to protect the joints and make maintenance easier.
By following this process, you will achieve a resistant, clean, and aesthetically flawless finish on your porcelain floor.

How to apply the material to fill porcelain floor joints
To properly apply the material for filling joints in a porcelain floor, first make sure the joints are clean and dry. Use a rubber float or a spatula to spread the grout paste over the joints, pressing firmly so the material penetrates well and no air bubbles remain.
Work in small sections to prevent the product from drying too quickly. Once applied, remove the excess with the float moving diagonally across the joints. Then wait a few minutes and clean the surface with a damp sponge, making gentle movements to avoid pulling grout out of the joints.
Finally, allow it to dry according to the manufacturer’s instructions to ensure a strong, long-lasting bond.
Cleaning after filling the joints of porcelain flooring
After filling the joints of a porcelain floor, it is essential to carry out careful cleaning to remove any remaining material from the surface and achieve a flawless finish. Once the grout has begun to set but is still fresh, use a damp sponge to gently clean, making circular motions without pressing too hard to avoid pulling the grout out of the joints. Change the water frequently to prevent dirt from being redeposited. When the grout is completely dry, you can polish the surface with a dry cloth to remove any final residues, ensuring a clean and uniform appearance.
Recommended products for cleaning without damaging the porcelain floor finish
To clean the porcelain floor after filling the joints without damaging its finish, it is recommended to use mild products specifically designed for this type of material. Ideally, use a damp sponge with clean water during the initial cleaning phase. For deeper cleaning later on, choose neutral detergents or special porcelain cleaners that do not contain acids or harsh abrasives. Avoid corrosive products, bleach, or rough scouring pads, as they can damage the shine and surface of the floor. This way, you will preserve the flawless finish and durability of your porcelain floor.
Additional considerations when filling joints in porcelain floors
In addition to everything we’ve already mentioned, it is very important to ensure that the grout material is suitable for the type of porcelain and the use of the space, especially in areas with moisture or heavy foot traffic. It is also necessary to avoid applying grout under extreme temperature or humidity conditions, as these can interfere with the drying and curing of the product. Lastly, always respect the drying times indicated by the manufacturer to achieve the best result.
When is it necessary to refill the joints?
It is necessary to refill the joints when they begin to show signs of wear, cracks, detachment, or discoloration. These symptoms can appear over time due to use, moisture, or cleaning with harsh products. It is also advisable to redo the joints if you notice water seepage or if the grout has lost its protective function. In high-traffic or damp areas, such as bathrooms and kitchens, it is best to periodically check the condition of the joints to maintain both the aesthetics and integrity of the porcelain floor.
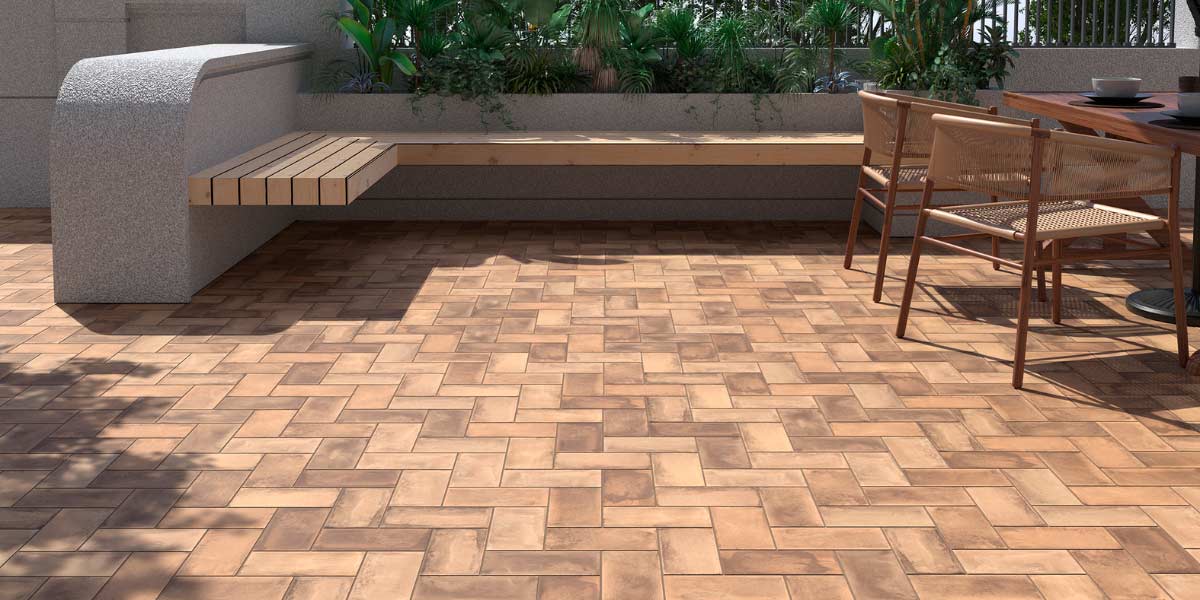
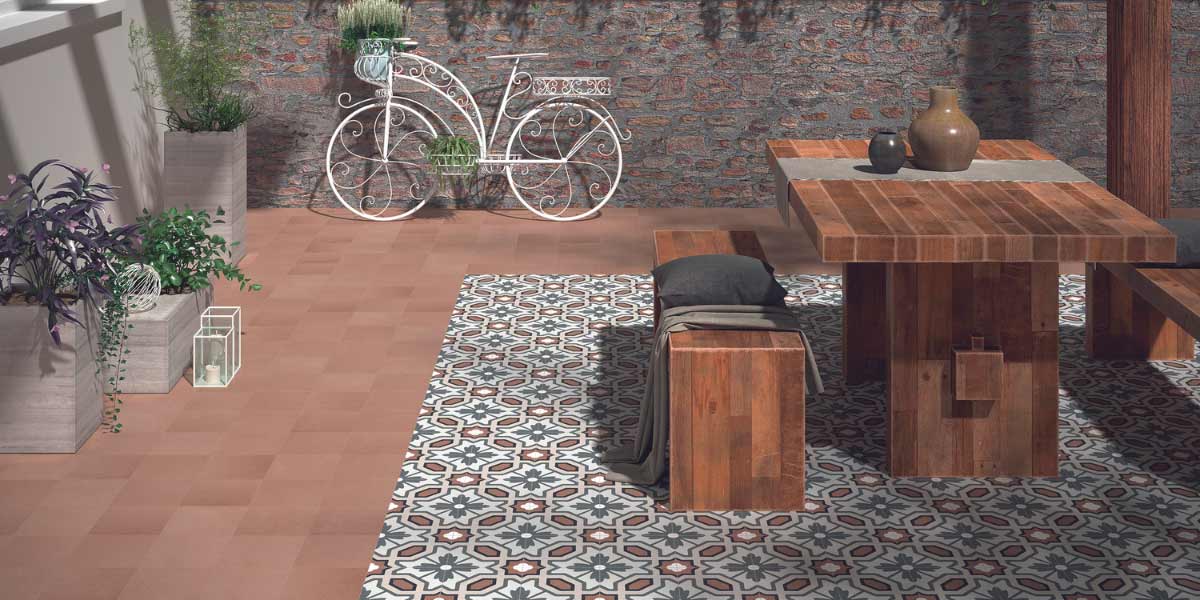
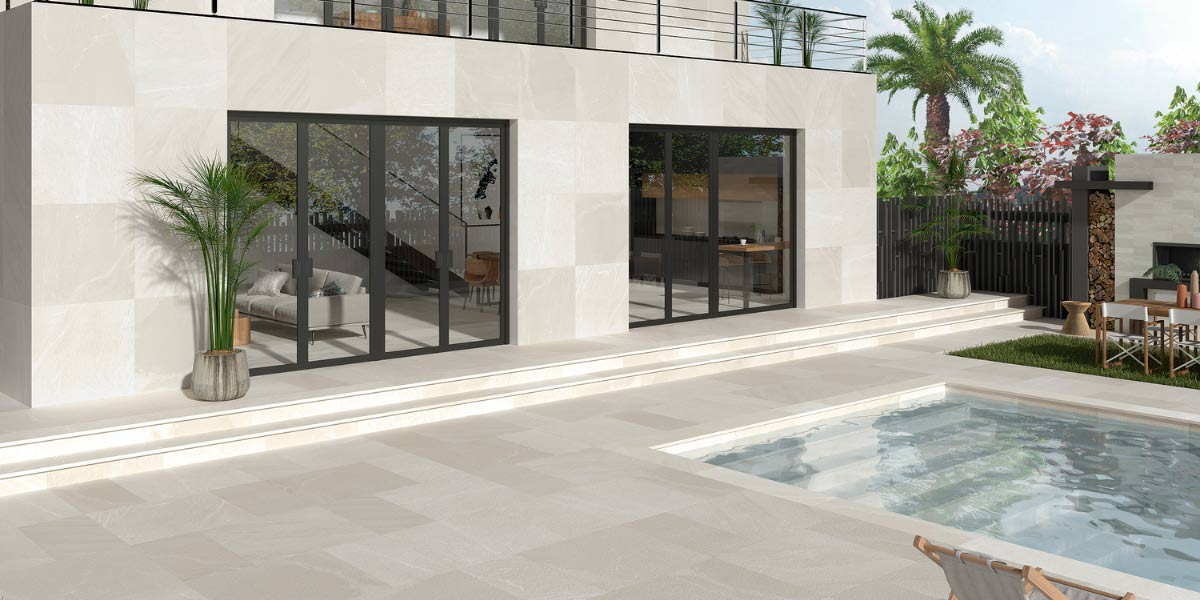
Is it advisable to fill joints in outdoor floors?
Yes, it is absolutely advisable to fill the joints in outdoor floors, as this protects the paving from water infiltration, dirt, and weed growth. Additionally, the filling helps maintain the stability between porcelain pieces against temperature and humidity changes. It is important to choose a grout material suitable for outdoor use, resistant to weather conditions and with waterproof properties, to ensure a durable and safe finish.
Taking care of every detail of your porcelain floor, from the choice of tiles to the proper filling of the joints, is much more than just a technical process: it is an investment in durability, hygiene, and a design that preserves its beauty over time. Good sealing not only enhances the aesthetics of the paving, making it look uniform and sophisticated, but also acts as a shield against moisture, dirt, and daily wear.
Investing in proper installation and maintenance means ensuring a unique space where every step conveys quality and comfort. Pay attention to every detail and aim for a finish that truly dazzles.