
How to install tiles in the kitchen: step-by-step guide
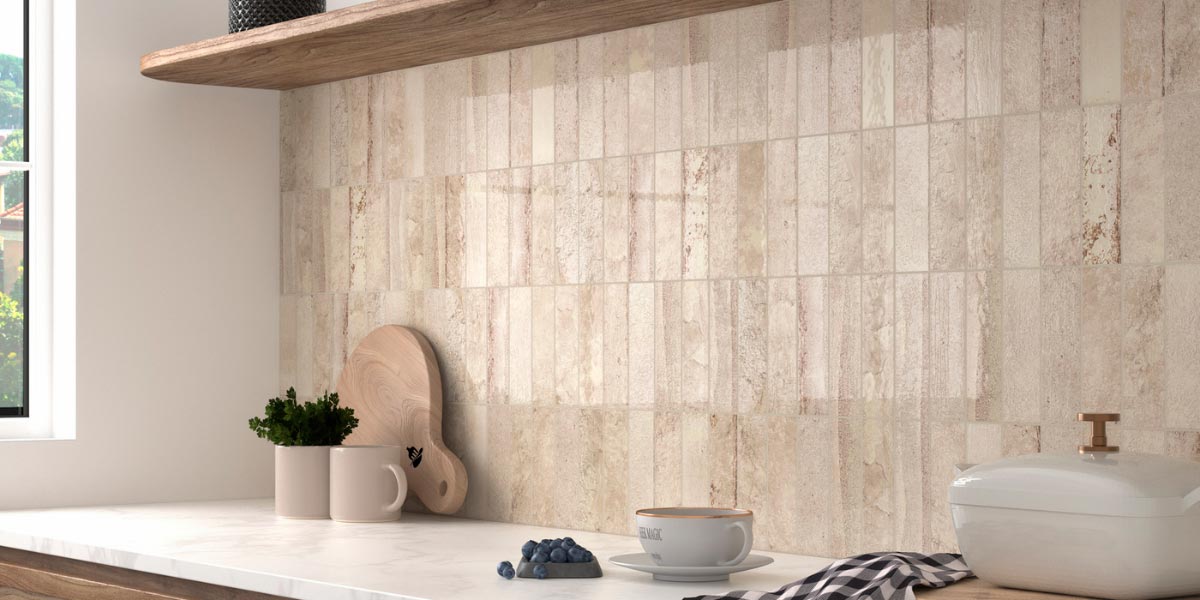
Installing tiles in the kitchen is one of the most effective ways to combine style, functionality, and durability in this essential space of the home. Whether you are renovating your kitchen to give it a more modern look or simply want to protect walls and surfaces from daily wear and tear, ceramic tiles offer a water-resistant, easy-to-clean, and aesthetically versatile solution.
At Dune Cerámica, we believe that a well-planned installation project not only visually transforms your kitchen but also adds value to your home and improves your everyday experience. In this step-by-step guide, we will accompany you from surface preparation to the final finish, sharing practical tips that simplify each stage, inspired by professional installation best practices.
Whether you are a DIY enthusiast or looking to better understand the process before hiring a professional, this guide will serve as a roadmap to achieving a flawless and long-lasting result.
Preparation before installation
A good installation begins long before placing the first tile. Properly preparing the space is essential to ensure an aesthetic, strong, and durable finish:
- Evaluate the condition of the surface. The surface must be clean, dry, and completely level. Any traces of grease, dust, or damaged paint can affect adhesive bonding, so it is important to clean thoroughly and correct any irregularities using leveling compound or mortar.
- Check the measurements. It is essential to carefully measure the area where the tiles will be installed. This allows you to calculate the required amount of material more accurately and anticipate how the design will integrate into the space. To avoid setbacks, it is always advisable to have a small surplus of tiles to cover breakages or replacements during the process.
- Design preview. Laying out a few tiles on a table or floor helps define orientation, sequence, and pattern—especially when working with decorative formats, mosaics, or collections that combine different pieces. This step ensures a harmonious visual transition and prevents surprises when fixing the tiles to the wall.
- Protect the work area. Covering countertops, furniture, and floors with plastic or cardboard prevents accidental damage and makes cleaning easier afterward. Having a clear, ventilated, and well-lit workspace makes the process more comfortable and safer, especially when cutting tiles.
- Gather all tools and materials before starting. Tile cutters, notched trowels, specific adhesives, levels, spacers, and cleaning supplies should be within reach to maintain a steady workflow and achieve a professional result at all times.
Surface preparation: cleaning and leveling
A properly prepared surface is key to ensuring that tiles adhere correctly and remain stable over time. Before starting installation, it is important to thoroughly clean the wall or area to be tiled. Any traces of dust, grease, peeling paint, or moisture can compromise adhesion, so it is recommended to use mild degreasers and ensure the area is completely dry.
Once clean, the surface must be level. Even small irregularities can cause uneven tiles or an imperfect finish. To correct this, leveling compound or mortar can be applied to fill gaps and smooth the wall. After application, it is advisable to check the surface again using a straightedge or level.
Taking time at this stage guarantees not only a more uniform aesthetic result but also a stronger and longer-lasting installation.
Measuring and planning the kitchen layout
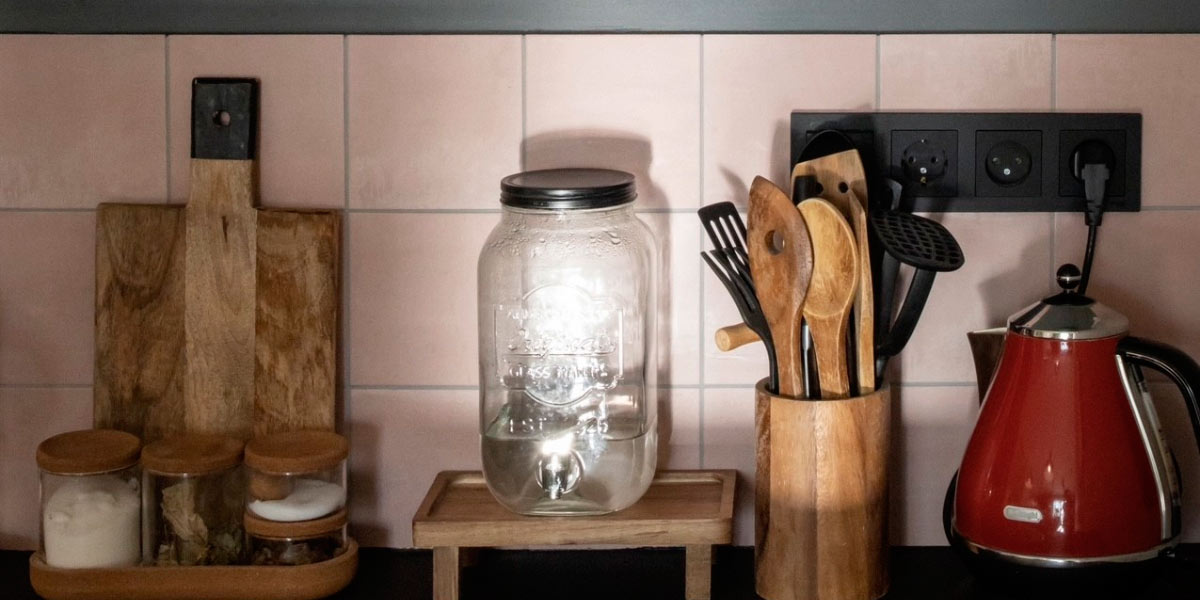
Before placing the tiles, careful planning is essential to anticipate the final design and avoid unnecessary cuts or an unbalanced visual result. The first step is to accurately measure the entire surface to be tiled, taking into account outlets, corners, cabinets, and any elements that may influence placement. These measurements allow you to calculate the exact amount of material needed and foresee how the design will adapt to the space.
With clear measurements, it is time to plan the layout. Marking guide lines on the wall—using a pencil, ruler, or laser level—is very helpful to define the starting point and ensure rows remain straight. This planning helps decide whether it is better to start from the center to balance the design or from an edge to align with countertops, hoods, or structural elements.
Visualizing the layout in advance—even by dry-laying tiles on the floor—allows you to check how patterns fit together, define cut sizes, and avoid placing small pieces in highly visible areas. Good planning ensures a harmonious installation and a kitchen finished with attention to detail.
Installing kitchen tiles
Applying the appropriate adhesive
Applying the adhesive is a key step to ensure tiles are securely fixed and remain stable over time. For best results, it is important to choose an adhesive compatible with the type of ceramic tile and the surface being worked on, especially in kitchen areas where moisture and temperature changes may occur.
Once the correct product is selected, the adhesive is spread on the wall using a notched trowel. This tool creates uniform grooves that improve adhesion and ensure even support for each tile. It is recommended to work in small sections to prevent the adhesive from drying before the tiles are placed. Each tile should then be firmly set, ensuring it is properly positioned and aligned with the previously marked guides.
For each of our products, you can find a technical data sheet specifying the best materials for tile adhesion.
Tile placement: installation techniques and recommended patterns
Once the adhesive has been applied, the tile placement phase begins, requiring precision and patience. It is essential to follow the guide lines established during planning to maintain alignment and ensure uniform joints. Tile spacers or leveling systems can be used to maintain consistent spacing and prevent uneven surfaces.
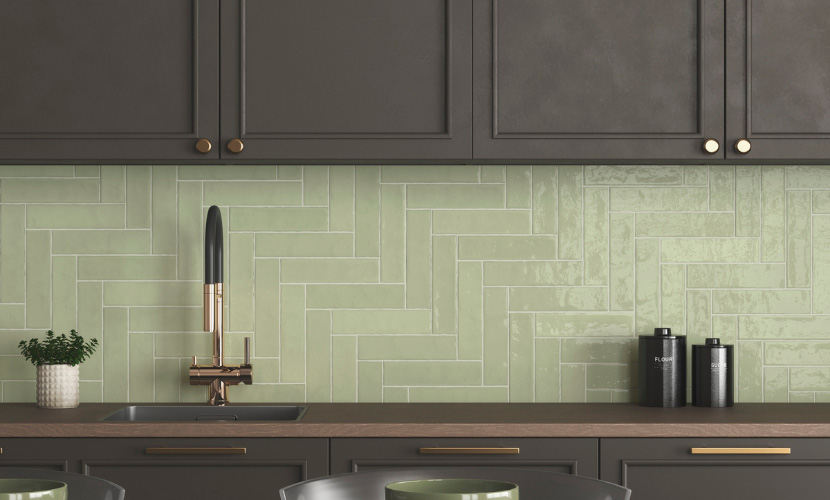
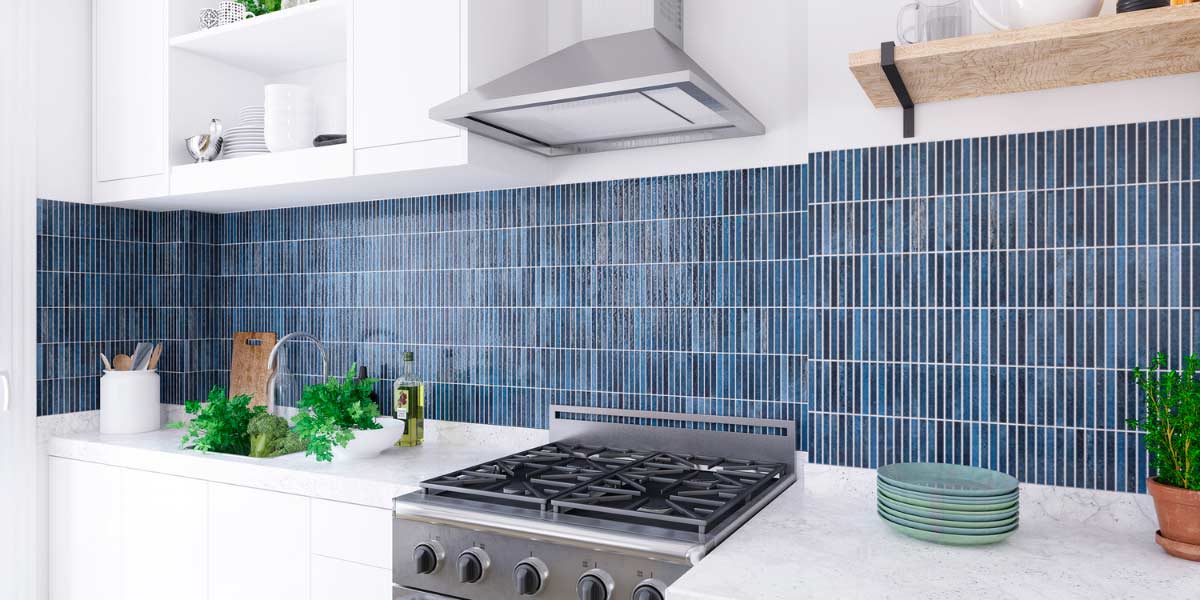
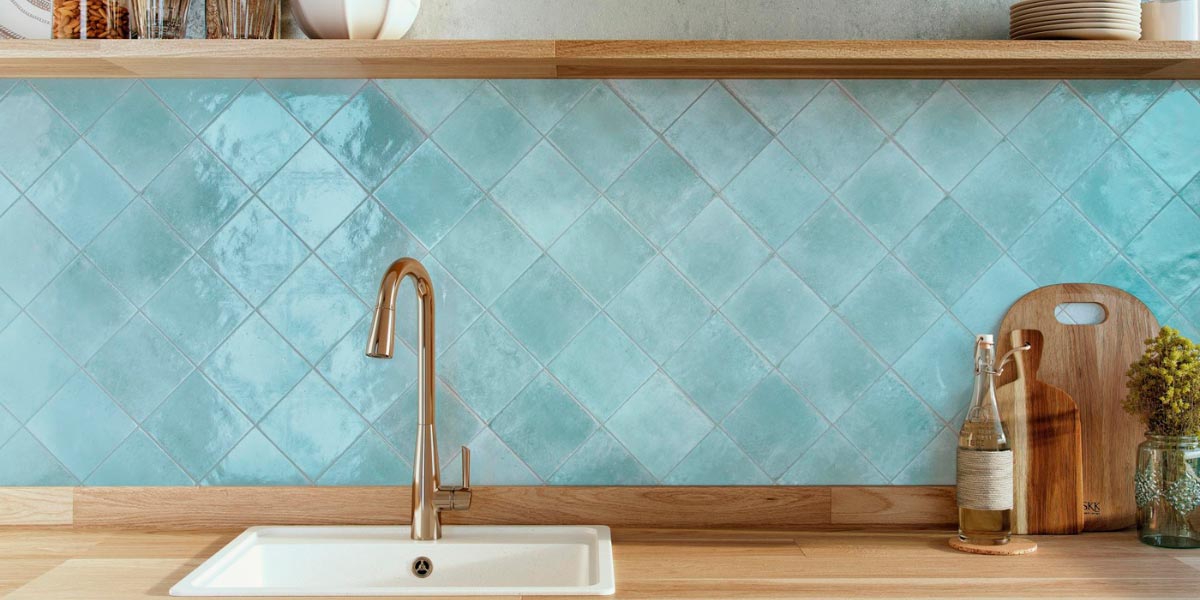
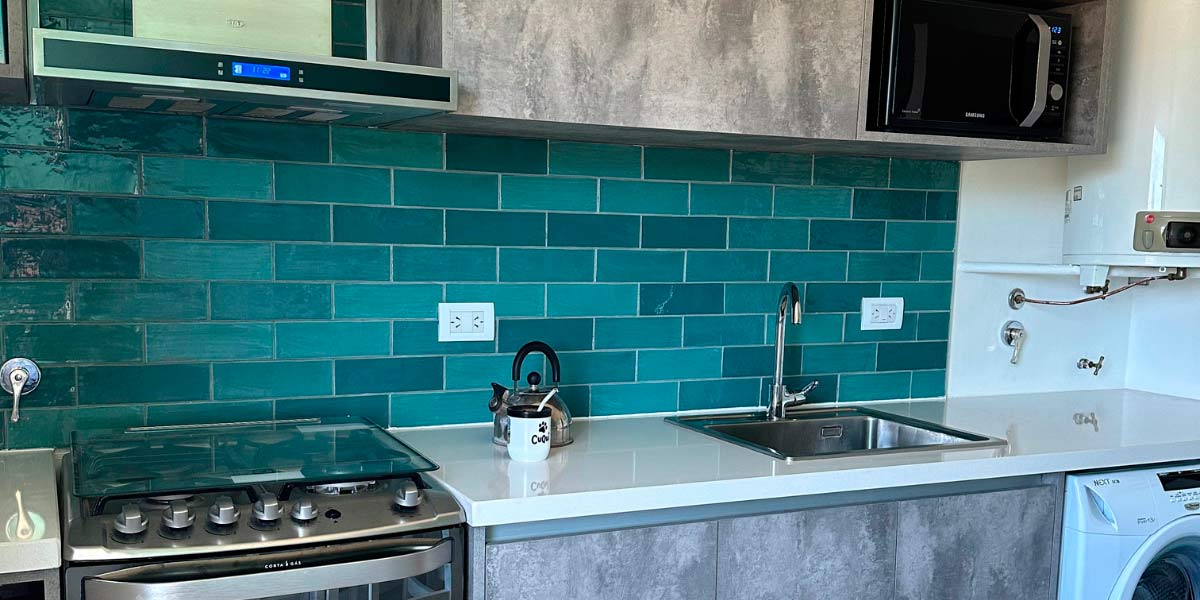
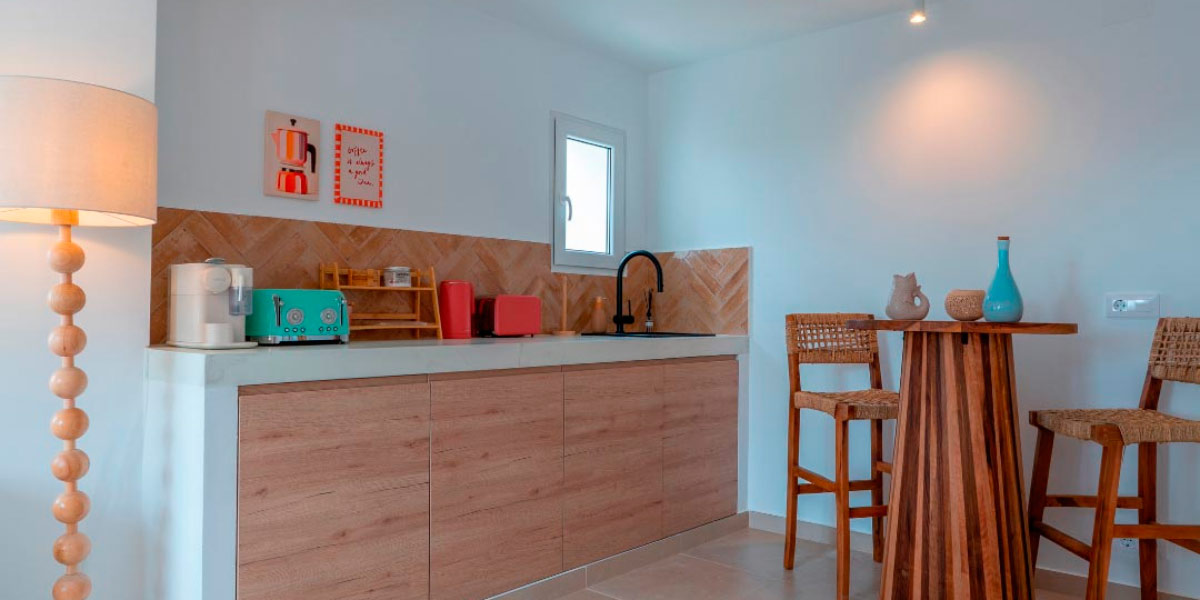
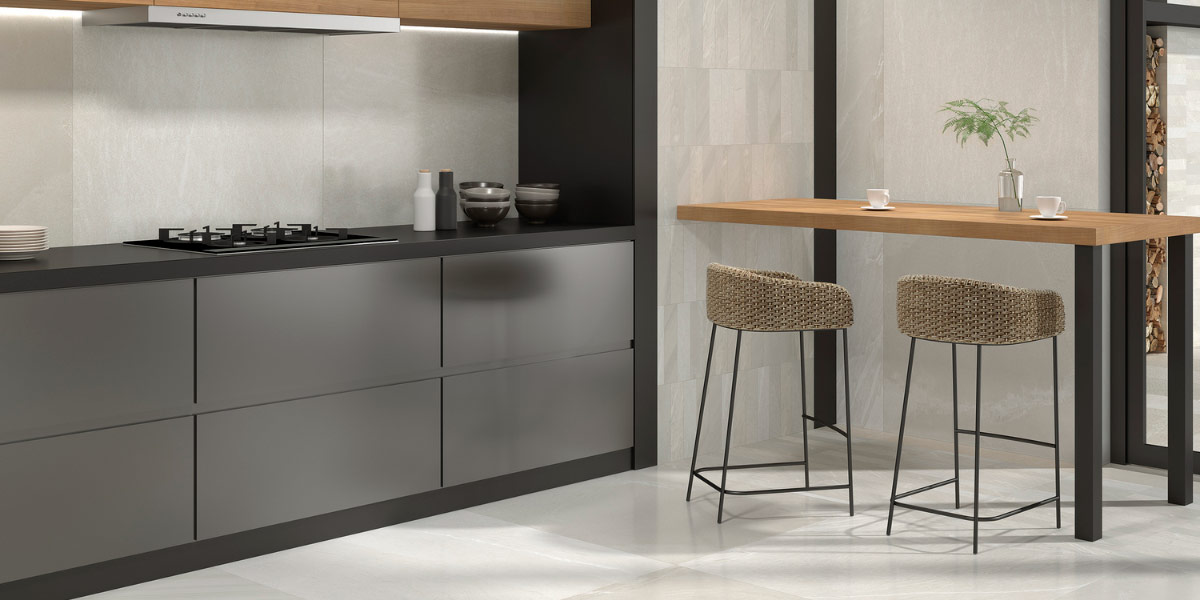
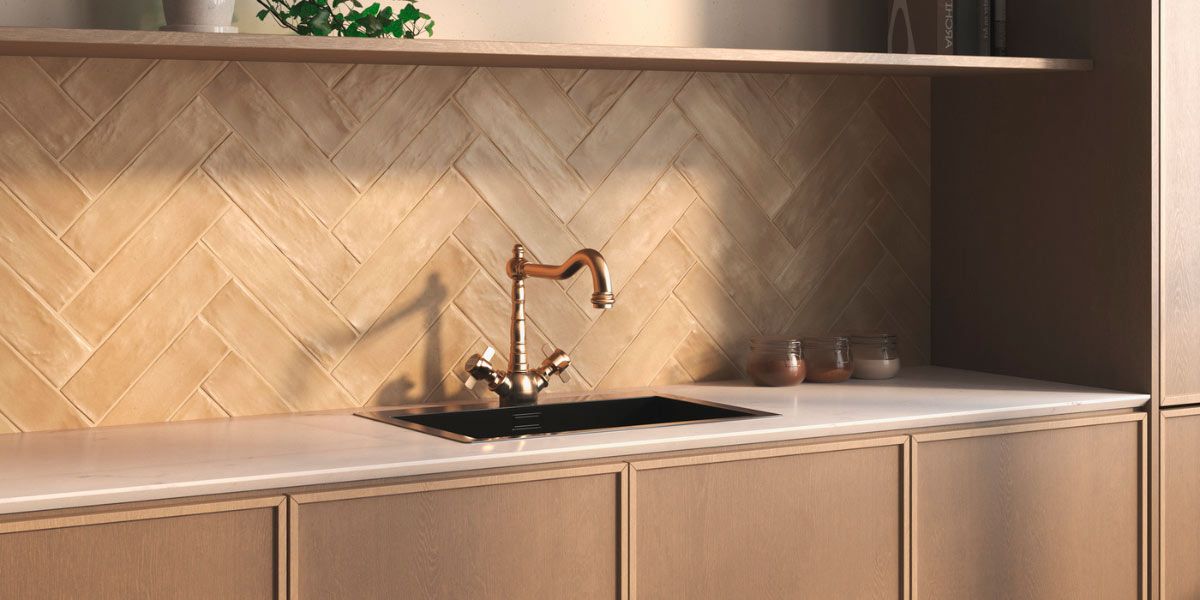
As for installation patterns, the choice depends on both kitchen style and tile format. Classic straight layouts offer a clean, symmetrical finish, ideal for modern or minimalist kitchens. Herringbone or diagonal patterns add dynamism and visual depth, making them suitable for larger spaces or when a more striking decorative effect is desired. For rectified or large-format tiles, special attention to leveling and precise adjustment is recommended, as even small misalignments can be very noticeable.
During installation, it is important to gently press each tile and continuously check its level, ensuring all tiles are firmly set and aligned. Careful placement guarantees not only an attractive result but also long-term durability.
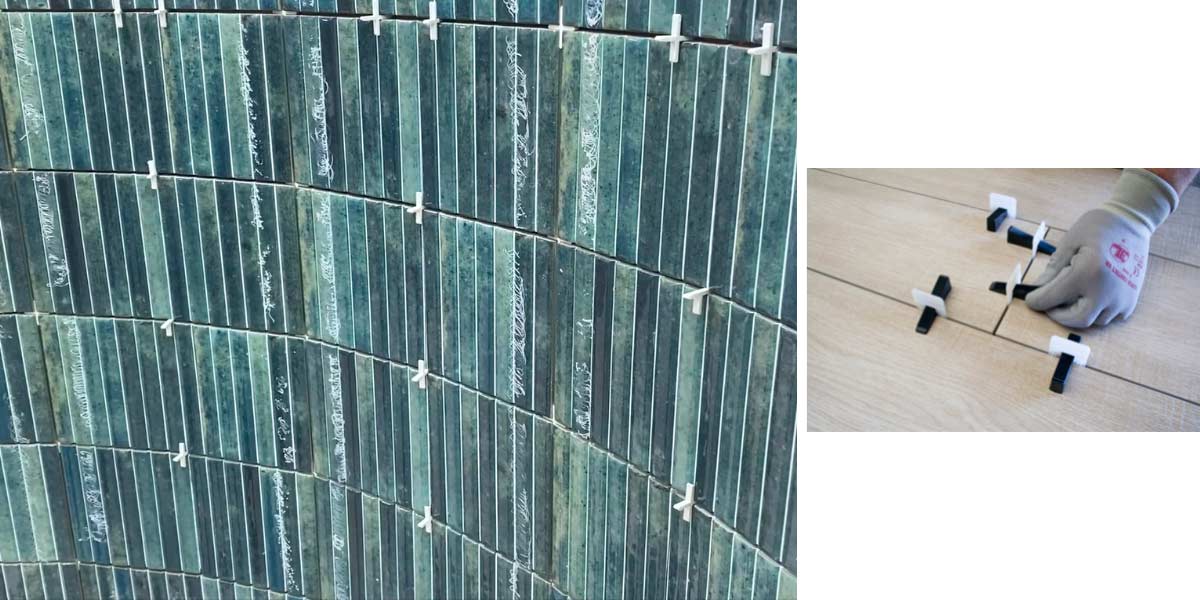
Using spacers to ensure proper joint spacing
The use of tile spacers is essential for achieving a uniform and professional installation. These small plastic pieces are placed between tiles during installation, ensuring consistent joint width and keeping each row aligned. They help prevent irregularities and unevenness that could compromise both aesthetics and durability.
In addition to maintaining uniform spacing, spacers facilitate layout planning, allowing adjustments before the adhesive sets. Once the tiles are firmly in place and the adhesive begins to cure, the spacers are easily removed, leaving the joints ready for grouting.
Using spacers correctly is a small detail that makes a big difference between an amateur finish and professional-quality work, ensuring the kitchen looks flawless and functional for many years.
Tile cutting and adjustments: techniques for complex areas
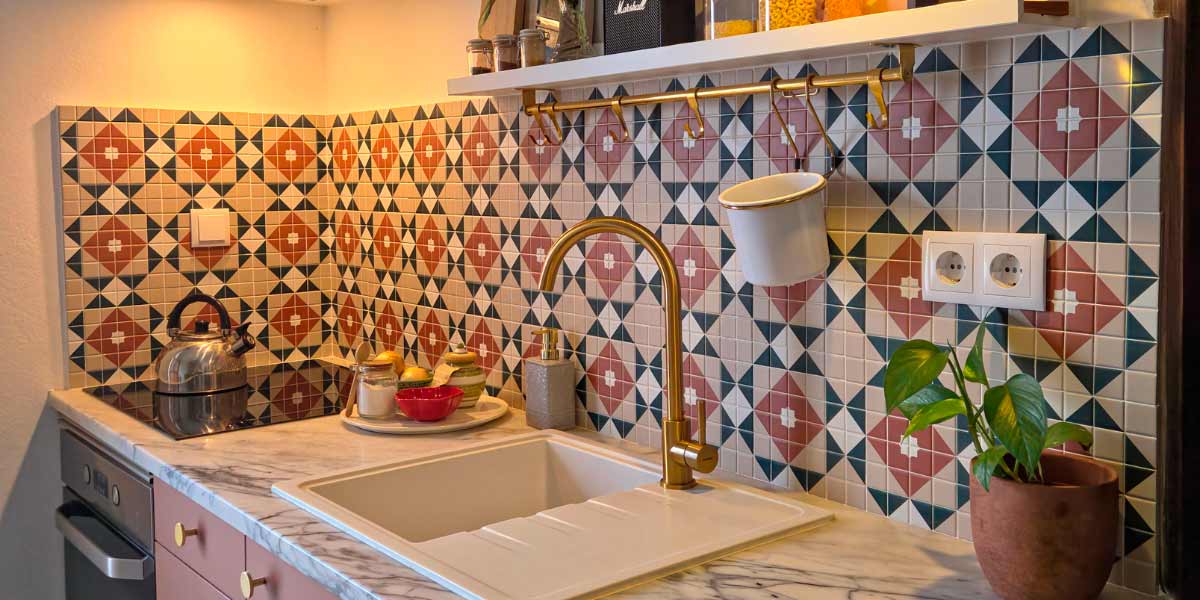
In any tile installation, it is inevitable to face complex areas such as corners, edges, skirting boards, or around switches and outlets. Making precise cuts is key to maintaining design uniformity and achieving a professional finish.
- For straight cuts, a manual tile cutter is the most common tool, allowing accurate scoring and snapping of tiles.
- For more complex cuts—such as angles, curves, or spaces around electrical outlets—it is recommended to use an angle grinder with a diamond blade or a wet saw, which offers greater control and clean cuts without damaging the tile.
- For very fine adjustments, files and small grinders allow you to refine edges and smooth irregularities.
Proper use of these tools not only speeds up the process but ensures that cuts fit perfectly, maintaining pattern alignment and design consistency—key elements for a flawless kitchen finish.
Finishing the kitchen tile installation
Applying the grout
Once the tiles are installed and the adhesive has cured, it is time to fill the joints with grout. This step not only enhances the aesthetic finish but also protects joints from moisture, dirt, and potential tile movement.
Grout is applied using a rubber float, pressing lightly to ensure it fills all joints. It is important to work in small sections and remove excess grout with the float to prevent buildup on the tile surface. Once the grout begins to set, it can be cleaned with a damp sponge, smoothing the joints and removing residue.
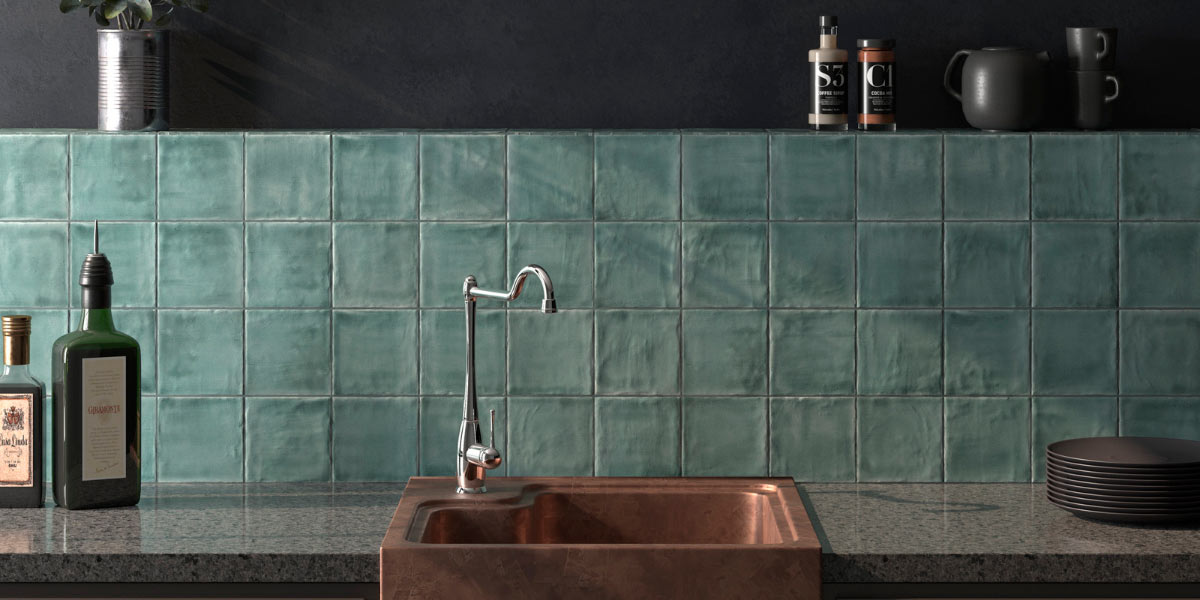
Grout color also influences the final result: it can highlight the tile pattern or blend in discreetly, depending on the desired effect. Proper grouting improves aesthetics while ensuring long-term durability and functionality.
Sealing the joints for protection against moisture and dirt
Once the grout has fully cured and the tiles are clean, it is advisable to apply a specific joint sealer. This sealant acts as a protective barrier, preventing moisture, grease, and dirt from penetrating the joints—especially important in kitchens, where surfaces are constantly exposed to water, steam, and food splashes.
The sealant should be applied carefully using a fine brush or precision applicator, ensuring it penetrates the entire joint without leaving excess on the tile surface. After application, allow the recommended drying time before cleaning or using the area. In addition to protection, sealing makes daily cleaning easier, maintains uniform joint color, and extends the lifespan of the installation. Including this final step ensures the kitchen not only looks impeccable but also remains functional and beautiful for years.
Installing kitchen tiles is much more than simply placing pieces on the wall—it is a process that combines planning, precision, and attention to detail. From surface preparation and adhesive selection to placement, grouting, and joint sealing, every step influences the durability and aesthetics of your kitchen. Avoiding common mistakes such as misalignment, insufficient adhesive, or inadequate sealing makes the difference between an amateur result and a professional finish.

At Dune Cerámica, we are committed to helping you transform your kitchen into a functional and stylish space, offering not only high-quality materials but also practical guides and expert advice to ensure every project is a success. By following this step-by-step guide, you will achieve a flawless result and enjoy the beauty and durability of your tiles for many years to come.
If you would like to discover more tips, design ideas, and ceramic solutions for your home, visit our blog and get inspired by Dune Cerámica’s proposals—where every project becomes a statement of quality and style.