The best ways to tile floors and walls
When decorating with ceramic tiles, it is not only the choice of tile that is important, but also the way the tiles are laid that influences the result. Unlike what it may seem, a ceramic tile can change completely if it is placed in one position or another. In the same way, the space can also be enhanced by choosing the most suitable way to lay the tiles. Therefore, as experts in ceramics, we analyse the main ways and styles of laying tiles based on the trends and needs of each space.
Ways and styles of laying tiles
1. Horizontal grouting
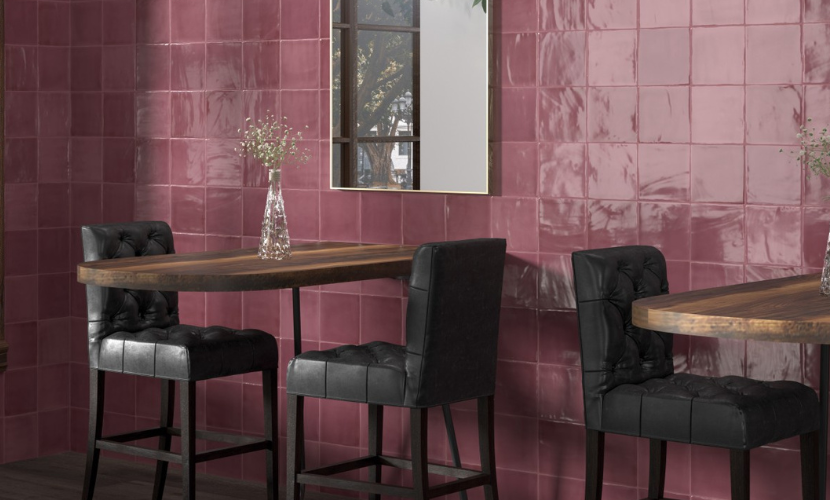
To lay them horizontally, the tiles are placed one after the other, in a straight line, and one below the other, without any kind of displacement. Both positions create a room full of order and harmony in the space, therefore, this style of tile laying is perfect for relaxed environments.
2. Vertical continuous joint
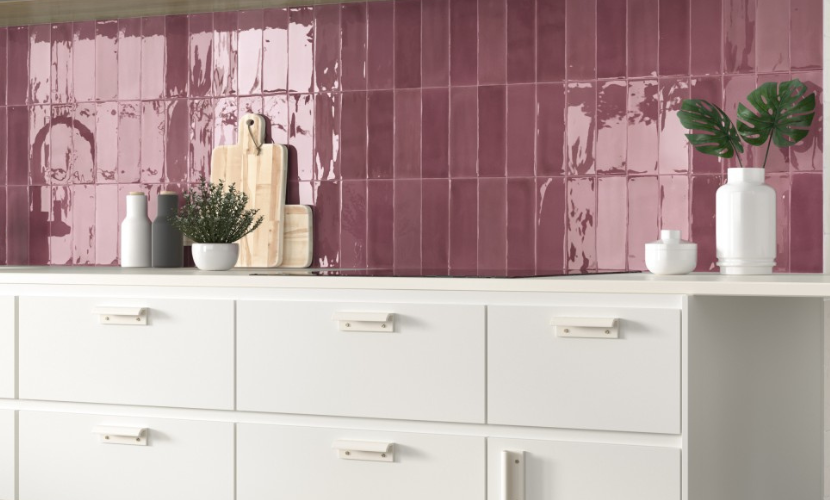
The same happens if we want to achieve a vertical continuous joint. We follow the same mechanism as the horizontal continuous joint and achieve the same effect in the decoration.
3. A staggered or staggered joint
This way of laying tiles is done in the form of a row and, instead of making all the joints coincide, they are laid alternately. In this way, the effect achieved is that the vertical cuts are right in the middle of those of the upper and lower line. As a result, the joint between two pieces is interrupted or ends at another piece. It can be horizontal or vertical.
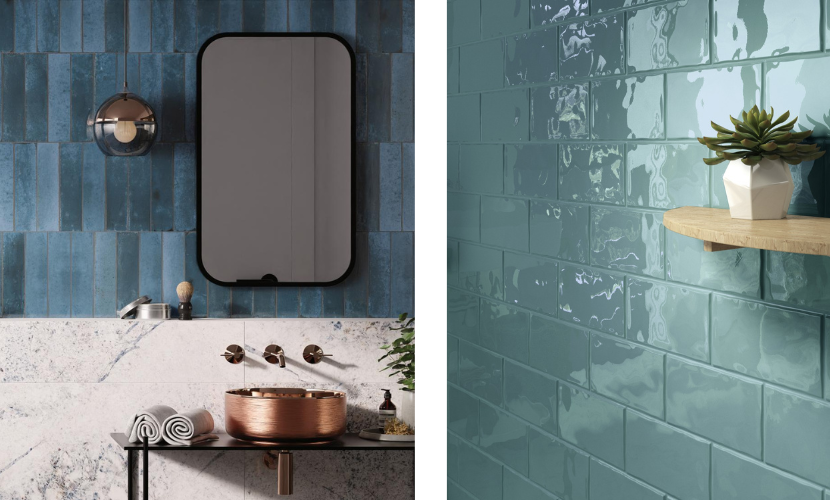
It is worth mentioning that this type of installation creates a feeling of spaciousness and makes the room more spacious. Totally recommended for small rooms as it creates a dynamic effect.
4. Offset tile installation
In this option for laying tiles, the pieces are laid in such a way that the vertical joint is displaced so that the alignment between the different tiles breaks the normal symmetry of the traditional tile joint. The result achieved is to create an original atmosphere for the room.
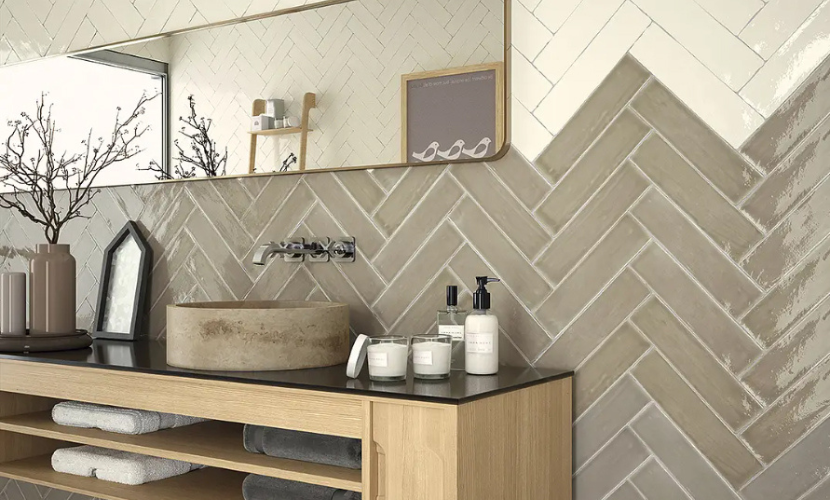
5. Herringbone or wide herringbone
If we lay rectangular tiles in an X-shape, what we get is a pattern known as a herringbone. The herringbone layout creates an arrow effect and is achieved by laying the tiles diagonally (either horizontally or vertically). This type of layout is reminiscent of rooms with parquet floors.
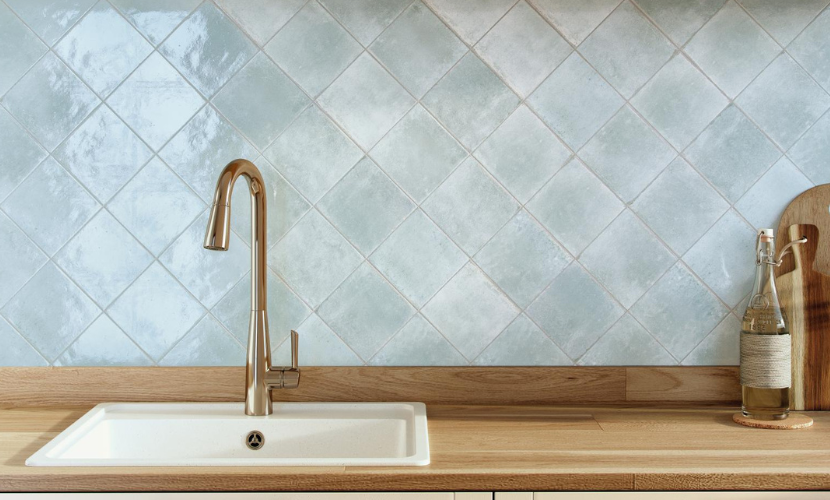
6. Diagonal
To continue with the laying forms, we propose a classic layout for square tiles. In this case, the tiles are laid in such a way that the joints form an X, thus creating a checkerboard effect. This proposal is recommended for small spaces or to give details to a larger room, as the result is repetitive.
7. Crossed line
This way of laying tiles, also known as crosshatch, is characterised by interspersing double rectangular tiles laid vertically and horizontally along the entire surface. In this way, the linearity is broken and the result is a decorative room in itself. This type of installation is very common for bathrooms or floors with a ceramic effect.
Steps to follow to lay tiles in the bathroom or kitchen
Once we have analysed the existing ways of laying tiles and creating trendy rooms, we would like to tell you the steps to follow to lay tiles.
1. Choosing and calculating the right material
The first thing to bear in mind when tiling a room is to choose the ceramic pieces and correctly calculate the quantity needed. The most important thing is to measure the surface area to be covered and, based on the size of the chosen tile, buy a few more pieces. As well as being foresighted in case any piece breaks in the future, it may be that to finish off some areas we need to cut tiles.
2. Prepare the surface to be tiled
Before tiling, we must make sure that the surface is correctly smoothed and even. In the case of the floor, the most important thing is to check that there are no unevenness and that it is completely straight. As far as the walls are concerned, make sure that they are straight in relation to the floor.
It is also advisable to sand and clean the surfaces on which we are going to lay tiles to make it easier to lay the tiles.
3. Laying out the tiles
When laying the tiles, start with the floor and lay the tiles next to the wall first. In this way, we will be able to lay the tiles on the wall from the dividing line that establishes this limit. Then, we will continue to cover the wall tiles. The way of laying these ceramic pieces will always be from the bottom upwards. To complete, we will tile the centre of the floor.
4. Cutting the tiles
To cut the tiles, a manual ceramic tile cutter is used, a machine with which the pieces are cut in a straight and error-free way. Generally, to finish the last row of the walls or floor, as well as the corners, you will need to cut the piece depending on the space you have available.
5. Laying the tiles
To lay the tiles on the floor or wall, we need to use cement. This product is applied to the surface to be tiled with the help of a spatula. The tile is then carefully placed in line with the rest of the pieces.